Lime Pointing our Terrace
AD. This post contains Affiliate Links, which means that if you choose to buy a product via a link in this post, we will receive a small commission from the purchase.
Over the past few weeks, we’ve put a hold on work inside the Cottage and instead have turned our attention to the area of patio at the front of the house. The terrace runs the full length of the Farm at the front, wraps around the east elevation and continued all the way along the back of the houses too - covering around 6,500 square feet in total! It’s a huge area, made up of a combination of original Yorkshire stone setts at the front, continuing into flags at the back. Whilst it’s a truly beautiful historic feature of our home, it’s one that we knew needed work before we could safely accept visitors to the Cottage.
Originally, the terrace would have been built using earth and lime mortars, relying to a certain degree on gravity to keep the stones in their place, but over the years repairs were made with cement mortars. As cement isn’t suitable for an application like this (due to its inability to take on moisture and lack of flexibility), the modern mortar had fractured, cracked and failed, leaving loose chunks of cement on the terrace, and large, uneven gaps. A historic patio like this is bound to be uneven to an extent, as the setts have shifted, eroded and settled over the decades since they were lain, but we felt the terrace was quite urgently in need of some repair to make it safe.
We are gradually working to replace cement mortars at the Farm with lime, and so it made sense for us to continue this onto the terrace too. Not only are lime mortars beneficial for moisture management in solid-walled properties (more on that here) but - in my opinion - they also look much much nicer than their cement counterparts! Lime is white in colour, and lime mortars take on the colour of the sand (aggregate) they are mixed with. Pigments can be added to colour mortars, which is useful for example if you live in a conservation area with very specific requirements on vernacular repairs, but I prefer to keep our lime mortar to a light and bright sandy colour - it just works beautifully with our Yorkshire sandstone.
The Farm sits quite high up on the Yorkshire moorland, at around 750ft above sea level, and is quite exposed to the elements. We get more than our fair share of blustery wind and rain here, which means that any mortar we use has to be able to withstand this added environmental pressure. A terrace has additional stresses to consider, as the mortar on a terrace will also have water pool on it, feet walk over it, cars park on it… not to mention Grandma running around with her wheelbarrow! All in, we knew that although we wanted to use lime mortar, a putty based mortar probably wouldn’t be able to withstand the pressures we needed it to, and so we decided to use an NHL lime.

An aerial view of the Farm, showing the terrace from above
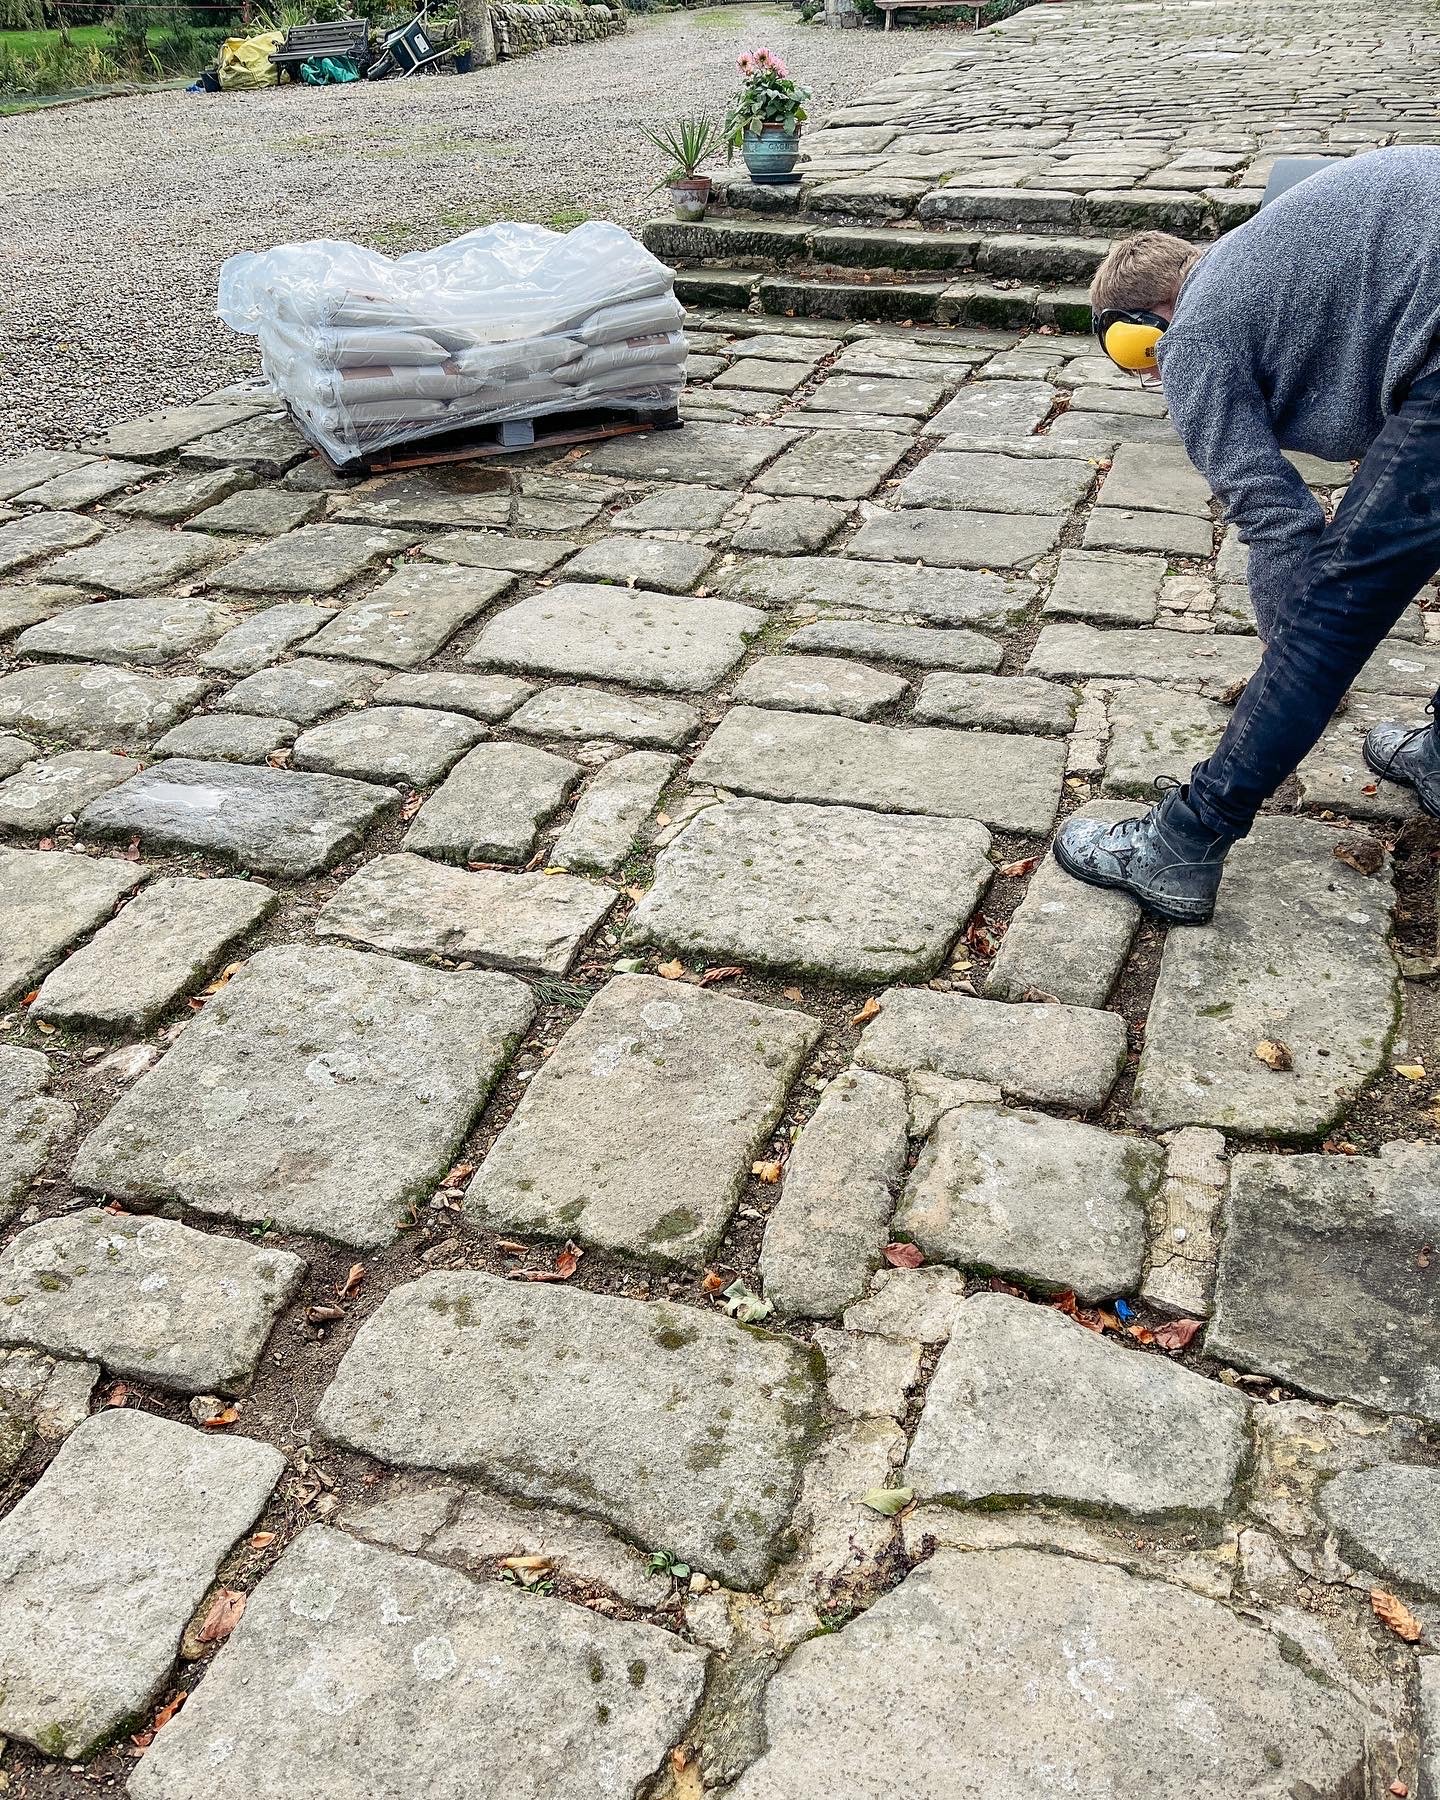
NHL, or Natural Hydraulic Lime, is a binder used in lime mortar. Unlike Non Hydraulic Lime, which sets by carbonisation (a reaction with carbon dioxide), NHL sets by hydrolysis - a reaction with water. A simple way to tell Natural Hydraulic or Non Hydraulic limes apart is how they arrive. If they are sent in powder form, wrapped in plastic lined paper bag, this will more than likely be Natural Hydraulic lime. If they arrive wet, in a putty form in airtight buckets or plastic bags, this will be Non Hydraulic lime. NHL limes tend to be much stronger than Non Hydraulic limes, but they are less breathable and flexible as a result. In historic restorations, Non Hydraulic limes, also known as Putty Limes, tend to be used as they are can be more traditionally appropriate and are more breathable, but they set much slower than NHLs. For this reason, I sit firmly in the camp of ‘not everything should be done exactly as it was 100 years ago’ - whilst I acknowledge and appreciate the benefits of Non Hydraulic limes in certain applications, we cannot negate the benefits and advancements of modern technologies, and in my opinion there are simply times where using an NHL lime is more appropriate… I’d love to use more Non Hydraulic limes, but in a setting like the terrace, there just isn’t much point if it will all wash away before it’s had chance to set!
So, taking into consideration the levels of exposure and stresses we knew the terrace would need to manage, we opted for an NHL 5 lime binder. NHL 5 is the strongest form of NHL lime available, and is used in extremely wet applications, and can even be used underwater! We always use St Astier limes from Cornish Lime, simply because they are well and truly excellent. For aggregate, we ordered a coarse washed sand from Cornish Lime called CLS43 which is 4mm down. Other washed coarse sands would work fine too, but we very specifically wanted to use the CLS43 as it is the same sand used in Cornish Lime’s premixed mortar, which we used elsewhere on the Farm, so using it allows us to have some consistency in mortar colour.
Before we could get started on the actual repointing, we had a lot of preparatory work to do. As time was tight to get the work complete before the true winter weather sets in (lime doesn’t like the cold, and won’t set properly below 5°C), we decided to tackle just the small area directly outside the Cottage front door. I say small, but even this section covers just under 40 square meters. We started to prepare the area by firstly knocking out any cement mortar that remained, and raked out the joints to a depth of around 50mm (the stone setts are very thick and bedded in very deeply). We decided to relevel some of the setts that were particularly wonky, or that had settled on an angle and posed a particular trip hazard, and dug these out completely before relaying them bedded in on lime mortar. We learnt quickly that the best approach was to work in sections - clearing and raking out only as much of an area as we had the ability to repoint in a day. Clearing more that we had time to repoint just resulted in a few hours of frustration next time we were ready to start work, when we’d find our nicely cleared joints filled with soggy leaves… note to self that Autumn isn’t the best time to repoint for more than one reason!


Once we had a good area raked out to around 50mm deep, we compressed the earth in the gaps with whatever tools we could find - usually a lump hammer or the flat end of a cold chisel - before adding a layer of hardcore, and, if appropriate on particularly wide/deep gaps, some small pieces of stone. This raised the level to about 30mm below the surface of the stone, meaning we weren’t using an excessive amount of mortar to fill voids that could be built up with much cheaper materials. Once this was done, we could finally get mixing!
We are fortunate to have a Cement Mixer at the Farm on long term loan from a builder friend, which is a total God-send when it comes to work like this! You can mix mortars using a paddle mixer attached to a reasonably powerful drill (we often use this with our Titan SDS drill on smaller mixes), but using a Cement Mixer means we are able to mix larger quantities and work more efficiently - something that is particularly useful when working on big areas like this! As we were site mixing the mortar, rather than using premixed, we started off by dry mixing the sand and lime to make sure it was evenly combined. Bear in mind that you should be wearing full PPE when mixing lime - so a good respirator mask, goggles and gloves is an absolute must.
Remember that when you are mixing mortars, your measurements are based on volume, not weight.
For external mortar, we mix at 2 parts lime to 5 parts sand. Your mix might vary a little depending on the aggregate you’re using, exposure levels, etc, but this works well for us. I’d recommend that you choose an old bucket, or a jug, and designate that as your measure! When you are measuring out for a mix, make sure you are using the same measure for every part. You are measuring a part based on the volume, not by its weight, so this is where having a consistent vessel to use as a measure is handy. You want to fill your measure without compressing the material inside it, as this will skew your proportions - so, fill the bucket until it is level, add it to the mixer, and that is 1 part. A bag of lime, particularly with NHL, goes much further than a bag of sand - so don’t assume for every 2 bags of lime you will need 5 bags of sand… it’s sadly not that straight forward! If you are using a cement mixer, I’d recommend adding the sand to the mixer first, switching it on, and then adding the lime whilst the mixer is running. You will need to mix the sand and lime dry for at least 10 minutes to ensure the lime is evenly distributed throughout the sand before you add water.
Once the mix is well combined, add your water gradually on the first mix, so you can get a sense of how much moisture is needed. You don’t want to oversaturate the mix, as it will just take forever to carbonate (set), and as a result will produce a weak mortar. Instead, gradually add your water into the rotating mixer and keep an eye on it to work out when it is at a workable but not overly wet consistency. The standard is around 3.9L of water for every 25kg of mixed lime & sand, but don’t use this as a ‘rule’ so much as a ‘guide’. Once you have mixed a few batches, you will quickly get a sense of how much moisture you need, so the process gets more efficient as you go. Lime plasticises as it is mixed, becoming more flexible and workable, so often what can seem as a mix that is too dry, actually just needs mixing for another 5 minutes for so. If you Mix your mortar wet for at least 10-15 minutes, and once mixed allow it to stand for 5 minutes before using - this allows the lime binder to develop.

The finished repointing
Once we had the mixer going, we sprayed down the joints in the stone with a pressure sprayer which helps to control the suction from the stone and stops moisture drawing out of the mortar too quickly meaning it dries too fast. We applied the mortar using a bricklayers trowel, which is great fun once you get the hang of slinging a trowel full of mortar straight into a gap - satisfying indeed - and then pressed it into the gaps using a combination of bucket trowels and pointing trowels, depending on how wide the gap was. Your mortar should sit just below the surface of the terrace, as mortar is designed to be sacrificial to the stone. Water should be able to run off the stone and into the mortar, to then evaporate through the vapour permeable mortar as and when the environment allows.
You don’t need to be particularly fussy on making your pointing look pretty at this stage, as once it’s gone off and begun to stabilise it’s time to do some more hard work and beat it back with a churn brush. Churn brushing quite literally involves repeatedly hitting the mortar with a natural bristle brush, which has a twofold effect of compressing the mortar into the gaps, creating a nice snug fit without any cracks, and giving the mortar a lovely textured finish. It’s difficult to say how long to leave mortar before churn brushing, as it will very much vary dependant on the weather conditions and temperature, but it should be once the mortar feels quite dry to the touch, and when hitting it with the churn brush gives a slight texture without the bristles sinking right in. Churn brushing isn’t the only finishing technique you can use - bag rubbing is another and some more decorative finishes such as shaping mortar are common in some places - but it is one that I find gives a nice finish aesthetically as well as the practical benefits, and it leaves you with a mortar that looks like it’s relatively original to the house.
As we repeated this entire process with each section, we covered the fresh mortar with waterproof tarpaulins to protect it from the wind, sun and, far more commonly up here, the dreaded rain. If fresh moisture gets wet, the water will wash out the lime leaving you with a pretty useless pile of sand, so keeping it dry is really important. After a week under tarps, we changed over to using hessian, which allows more airflow to the mortar whilst still offering protection from the weather, and has added insulating benefits too. The hessian needs to stay in place for at least two weeks before being removed, to give the mortar the best chance of carbonating well over the winter.
All in all, it’s been quite the journey just to complete the small section we have before winter sets in, but now having finished the first area it’s really amazing to think of how wonderful the terrace will look when we eventually get around to repointing the whole area. It’s also been enjoyable to get the mixer and our mucky tools out again, after a few months of relatively ‘clean’ work as we continue to decorate the upstairs of the Cottage. But, as the colder weather and shorter days set in, I’ll be the first to hold my hands up and admit I’m quite happy to put my pointing tools into hibernation until the Spring!
As ever, if you have any questions, or if there’s anything I have missed, do let me know below.